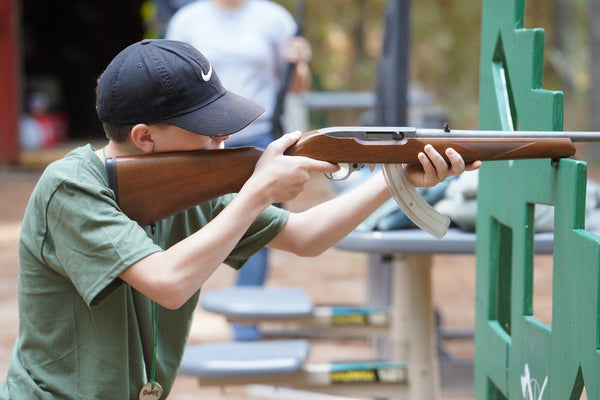
How to Easily Upgrade Your Ruger 10/22 Rifle by Installing a Replacement Adaptive Tactical RM4 Rifle Stock
Upgrading the stock of your Ruger 10/22 rifle with an Adaptive Tactical RM4 Rifle Stock is a simple and cost-effective way to enhance the performance and features of your rifle. The RM4 stock offers improved ergonomics and stock features, making it a popular choice among Ruger 10/22 enthusiasts. In this step-by-step guide, we will walk you through the straightforward process of installing the Adaptive Tactical RM4 Rifle Stock on your Ruger 10/22.
Tools and Materials Needed:
- Ruger 10/22 rifle (www.ruger.com)
- Adaptive Tactical RM4 Rifle Stock (www.adaptivetactical.com)
- Straight Slot head screwdriver
- Allen wrench set
- Torque wrench (optional)
- Blue thread locker (optional)
- Workspace with ample lighting
Step 1: Ensure Safety Before you begin any work on your firearm, make sure it is unloaded and the chamber is clear.
Step 2: Prepare Your Workspace Find a clean, well-lit area to work on your rifle. Lay down a soft cloth or a gunsmithing mat to protect the rifle's finish and prevent any parts from rolling away.
Step 3: Remove the Old Stock Using an appropriately sized slot screwdriver or Allen Wrench, remove the screws securing the existing stock to your Ruger 10/22. There is just one screw: on the bottom of rifle stock just forward of the bottom magazine well. Set the screw aside as you will need it for the new stock. Note: Some older models will include a barrel band secured to the front portion of the stock. Remove barrel band screw and slip off barrel band. Band not needed for installation of new Adaptive RM4 Stock.
Step 4: Remove the Action Separate the action (barreled receiver) from the old stock by lifting it out of the stock. Prior to removing the action and to avoid contact with the stock, center the safety between the safe and off position. Tip: If it has been a while since performing any deep cleaning and lubrication on your 10/22 Rifle this is an excellent time to stop and do any needed maintenance.
Step 5: Prepare the Adaptive Tactical RM4 Stock Before installing the new stock, make sure all components of the Adaptive Tactical RM4 stock are in order. Inspect for any defects or missing parts. You may want to use blue thread locker on the screw to prevent them from loosening during use, though this step is optional.
Step 6: Attach the Action to the RM4 Stock Gently place the action into the Adaptive Tactical RM4 stock, by inserting the rear of the action in at an angle and pushing reward and then rotating the action down a ensuring the trigger group, action and barrel all fit snugly into their designated positions. This may take several times to properly seat the action down into the stock. Reinstallation and tightening of the stock screw in the following step will pull the action completely down into the stock.
Step 7: Secure the Stock Using the screw you removed in Step 3, reattach the new stock to the action. Make sure the screw is tightened securely but avoid over-tightening, as this could damage the stock or the action. If you have a torque wrench, you can use it to ensure the screws is set to the manufacturer's recommended torque specifications.
Step 8: Function Check With the new stock securely attached and the firearm still unloaded, perform a function check to ensure that your rifle is operating properly. Check the safety, trigger, and cycling of the action.
Step 9: Final Inspection Inspect your newly installed Adaptive Tactical RM4 Rifle Stock and ensure all components are properly fitted. Check for any loose parts or screws.
Step 10: Test Fire If you have access to a safe and legal shooting range, it's a good idea to test fire your Ruger 10/22 with the new stock to ensure it functions as expected. Always follow safety guidelines and local regulations when doing so.
By following this simple step-by-step guide, you can easily install the Adaptive Tactical RM4 Rifle Stock on your Ruger 10/22. The upgraded stock will enhance your shooting experience and give your firearm a fresh look. Remember to prioritize safety and always handle your firearm responsibly.
Also in BLOG

Less Clothing, More Confidence: 7 Conceal-Carry Secrets
As the temperature climbs, fewer layers make concealing a firearm more challenging—but far from impossible. By combining the right holsters, carry systems, and clothing choices, you can stay cool, comfortable, and covered all summer long.

Top 8 Pro Tips for Your Family’s Bug‑Out Vehicle
Selecting the ideal urban family “bug‑out” vehicle (BOV) requires balancing storage, off‑road prowess, fuel range, reliability, maintenance ease, power/communications, seating comfort, and customization potential. Each feature ensures you can evacuate swiftly, carry essential gear, stay powered and informed, and keep your family safe and comfortable—all while adapting your rig for the unpredictable urban environment. Below are the eight critical features, each paired with a Survivalist Pro Tip.
7 Reasons the Ruger 10/22 is the Ultimate Starter Rifle (with Pro Tips!)
The most common question received by firearm trainers is "What's the best rifle to start with?" The answer? The Ruger 10/22. This iconic .22 LR semi-automatic rifle is a staple in the shooting community, and for good reason. Whether you're introducing a friend to the sport or looking for a reliable plinker, the 10/22 delivers. Here are seven reasons why it's the perfect choice, each paired with a pro tip to enhance your shooting experience.